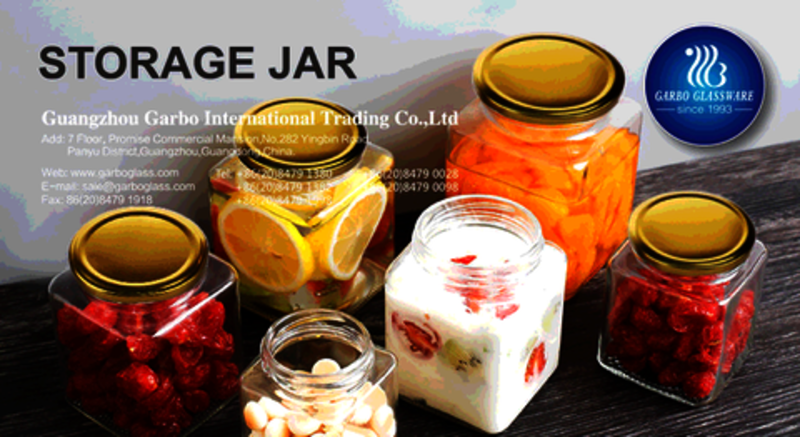
How to sterilize glass canning jars
Pulished on Apr. 08, 2020
When you preserve fruits or vegetables with water-canning methods, it`s necessary to sterilize the glass jars and need at least 10 minutes in a boiling water canner, as the experts say that this will fully sterilize the jars without any need for early sterilization. It is neither necessary to sterilize jars that will be used in a pressure canner.
Be aware that this is the only officially recognized method for sterilizing glass jars. You may come across misinformation that says you can sterilize jars in a dishwasher or oven, but neither of these methods is considered safe by the USDA.
What You Need
If you have a home canning kit, the boiling water canning container can be used to sterilize the jars. If you don't have a home canning kit, you will need a few items to complete the sterilization process, including:
· Glass canning jars
· Boiling water canner or large pot with a rack
· Jar lifter or kitchen tongs
The canning jars should be made of tempered glass with a two-piece vacuum cap (the metal screw band and flat, rubber-lined metal lid). If you are using a large pot, it needs to be at least two inches taller than the jars and should be fitted with a rack and a lid.
How to Sterilize Glass Jars
Once you have all of your equipment in place, the actually sterilizing should take about 25 minutes or so.
1. Place the empty jars right-side-up in the boiling water canner or large pot. You may use the same pot for the boiling water bath when you fill the jars with food to preserve.
2. Completely cover the jars with hot (but not boiling) water—the water should be one inch above the top of the jars.
3. Bring the water to a boil over high heat.
4. Once the water reaches a full rolling boil, begin timing. Boil the jars according to the time suggested above for the altitude. At sea level, for example, boil the jars for at least 10 minutes.
5. Turn off the heat. If you are not quite ready to begin the canning recipe, you can leave them in the hot water for up to one hour.
6. Remove the jars using jar lifters or tongs, drain well, and set aside to dry on a clean surface.
Warning:
Sterilizing your jars will be pointless if the surrounding area is not perfectly clean. Your clean jars can easily pick up bacteria from surrounding areas that are contaminated. If you are setting your jars on dish towels to dry, make sure they are fresh and clean. Whenever possible, proceed to can immediately upon finishing the sterilization of the jars. If you wait for more than one hour, you should resterilize the jars before starting the canning recipe.
Cleaning the Lids
It is important NOT to boil the metal canning lids or their rings. The extreme heat of boiling water can harm the rubber sealing rings on the lids, which can result in a broken seal and contamination of the jar's contents. Instead, most experts suggest that you simply place the canning lids and their rings into water that is simmering, but not boiling for 10 minutes to thoroughly clean them. You can use the same water that was used to boil the jars once it has cooled slightly.


